The use of mobile Internet is increasing at a rapid pace all around the globe. Google wasn’t too thrilled about how long it was taking for webpages to load on iPhones and Android smartphones. This slowness is caused by mobile websites having images that are too large, scripts that run before the content is loaded and a slew of other issues. So, to solve this issue Google created the “Accelerated Mobile Pages” project, or AMP, to fix this.
What is Accelerated Mobile Pages?
It is an open source framework based on html, to create fast loading pages for mobile users. It’s good to optimize your pages for mobile users.
Features of AMP
- Smart Content Prioritization
- Prefetching the elements
- No relayout
- Asynchronous loading
- Responsive Design
- Always get best images for your screen(layout=responsive)
- Limited Design
- No custom JavaScript except in amp-iframe
- No scrolling elements
- Max 50kb inline stylesheet
Framework Components

- AMP-Html
Some of html tags doesn’t supported by Accelerated Mobile Pages. So, that is replaced by custom html tags are defined here.
- AMP-JavaScript Library
Main function is resource loading and fast rendering of pages.
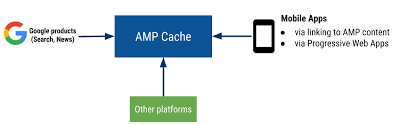
- AMP–Cache
It is a cache of valid AMP documents published on the web available for anyone to use. Google products, including Google Search, serve valid documents and their resources from the cache to provide a fast user experience across the mobile web.
Steps to Add AMP Plugin for WordPress
1 : On your WordPress admin area – add new plugin.
2 : Install and activate AMP plugin for your site.
3 : You can customize your AMP by its appearance. Else by adding Yoast SEO & AMP you can customize more things.
Steps for Adding AMP to html sites
1. Include AMP symbol within the HTML tag.
2. Add canonical tag.
3. Include AMP library file.
4. Specify a viewport.
5. CSS validation.
6. Adding boiler plate code.
7. Replace <img> with <amp-img>
8. Linking from original document
9. AMP page validation
STEP 1:
First Create a ditto page in of html page which we converting.
example: article-amp1.html
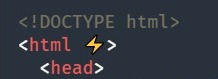
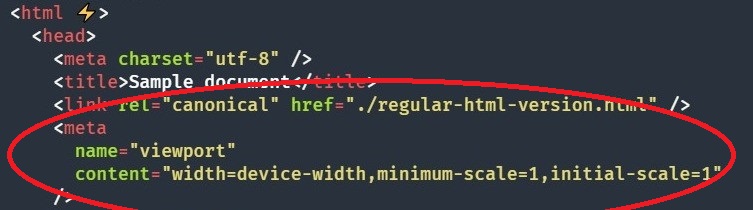
Add the attribute ⚡ to the <html> tag in the head section.
STEP 2:
Add Canonical Tag
Every document must posses a link referencing to its ‘canonical version’ of that original document. We must provide the absolute URL of original HTML page. Then the tag must be included in head section.

STEP 3:
Include java script library file on head section
It can help us to figure out, what all we need to fix. Its always same for every files.
Example: <script async src=”https://cdn.ampproject.org/v0.js”></script>

STEP 4 :
SPECIFY A VIEWPORT
Requires definitions for width and minimum-scale for the viewport. Viewport is a common tag used in head section. This is a common code.
example: <meta name=”viewport” content=”width=device- width,minimum-scale=1,initial-scale=1“ />
STEP 5 :
CSS VALIDATION
- In amp page we cannot include external stylesheet.
- Reduce the size of stylesheet.css file to 50 KB.
- Embed the style sheet within <style amp-custom></style> tag as inline styles.

Example: <style amp-custom>
/* The content from stylesheet.css */
</style>
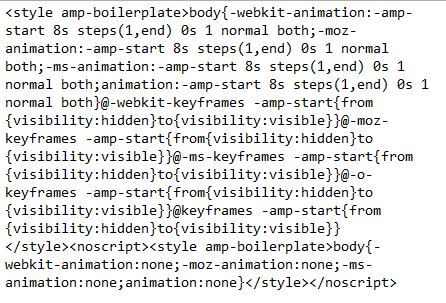
STEP 6 :
Adding BOILER PLATE Code
Add the AMP-boilerplate code to the bottom of the <head> tag. Boilerplate helps to hide the content of body section until the JavaScript library is loaded. This is also common code.
STEP 7 :
REPLACE <IMG> WITH <AMP-IMG>
- It is a designed special web component to replace the <img> tag with <amp-img> tag and added to the body section of the HTML page.
- We need to define the width, height and layout for <amp-img> elements.
- Attribute layout =”responsive” is provided to inform that our image can be scaled and resize.
example:<amp-img src=”mountains.jpg” layout=”responsive” width=”266″ height=”150″></amp-img>
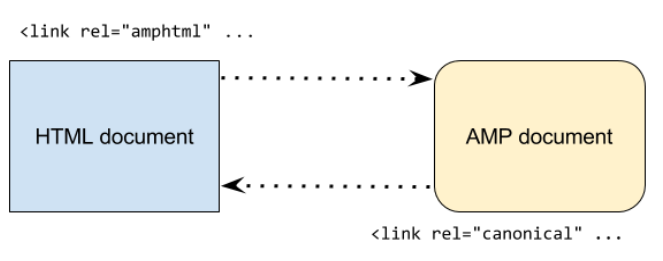
STEP 8 :
LINK ORIGINAL PAGE CONTENT
- This is achieved by including a <link rel=”amphtml”> tag to the <head> section of the original non-AMP HTML page.
- Both versions have generally the same content, but have different presentations. So we should treat the traditional HTML pages as the “canonical” pages.
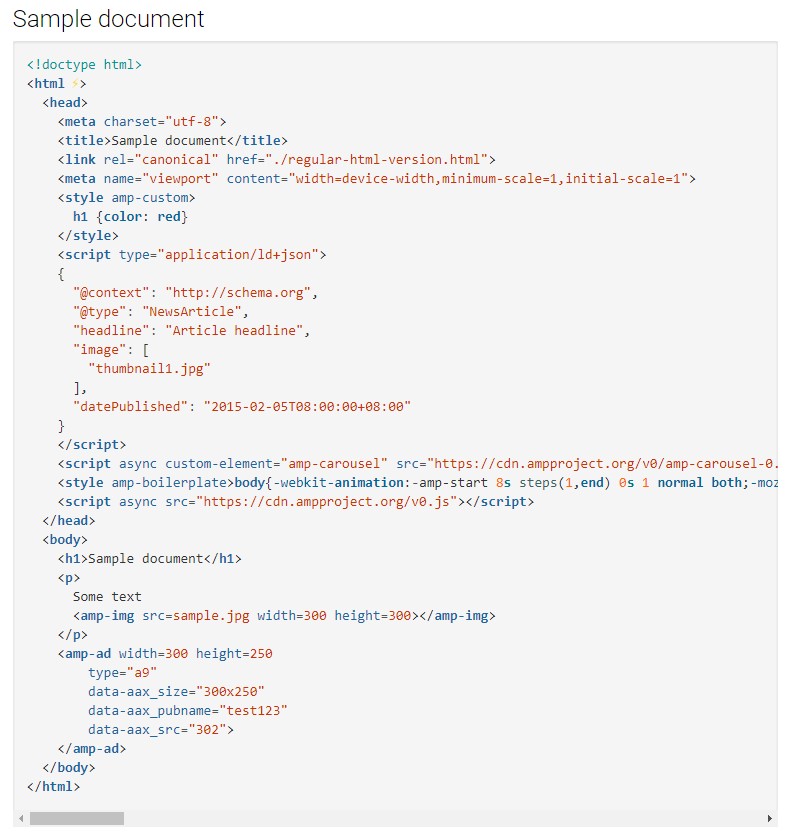
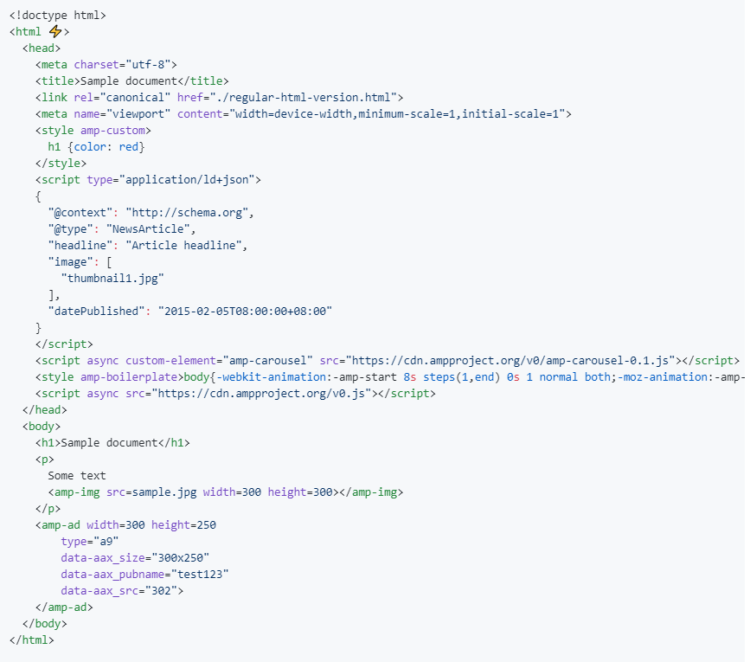
Sample document after optimization
STEP 9 :
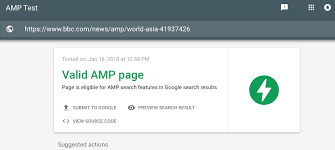
PAGE VALIDATION
This is the last step in optimization. Here we validate our page created in google validator tool to check whether it is optimized or not.
Conclusion
As the users are shifting to mobile, if you are not on mobile you are losing visitors. Check your site mobile friendliness and get ready for mobiles first index.